Howdy Partner
by  Prettyleeah · 3 years ago

Howdy guys! Gather along as we go for a ride.
Room Name: Entrance - Howdy Partner
Room Owner: Ellie,
Or you can click the room icon at the top of this guide to be taken directly there.
There are two badges which can be won at this event.
 - This can be won by completing the Cowboy Maze. The guide for this begins from step 1.
 - This can be won by completing the Egypt Maze. The guide for this begins from step 23.
Flick the switch to teleport.
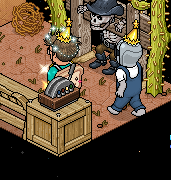
Enter the teleporter.
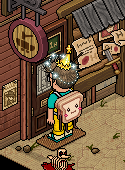
Make your way to the saddle seat to teleport.
Note: Watch out for the snakes as they will try to trip you up.
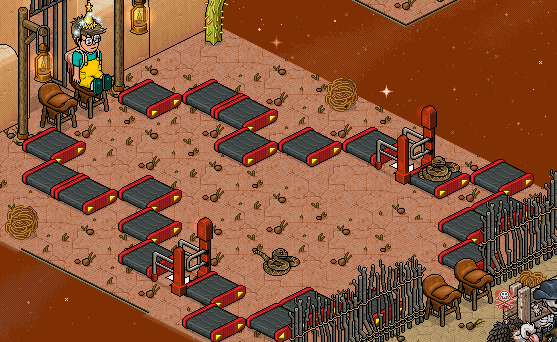
Enter the teleporter.
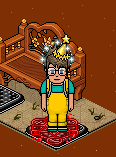
Flick the switch to teleport.
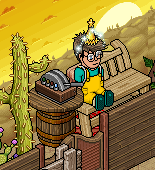
You must now use either side of the room and complete the snake maze, you must enter the red one-way gate and turn all four (4) color tiles green to rotate the gate. Make your way to the saddle seat without colliding with the snakes to teleport.
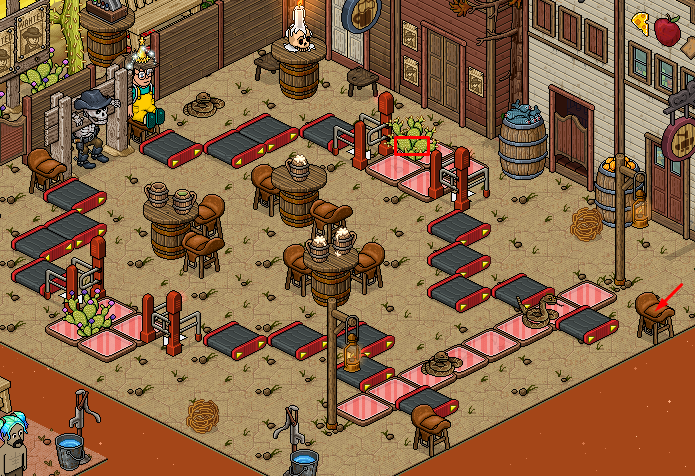
Enter the teleporter.
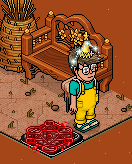
Make your way to either of the bubblejuice chair using the saddle seat and entering the rotating one-way gate. Sit on the chair to teleport.
Note: The skull candle will try to block your path.
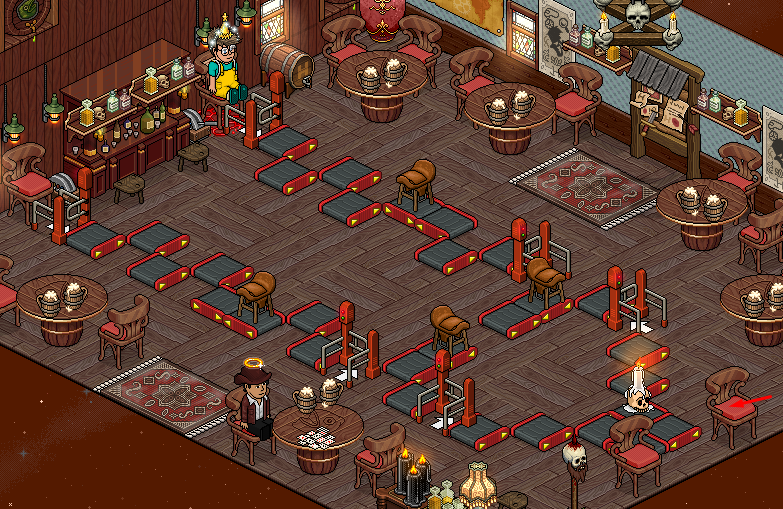
Enter the teleporter.
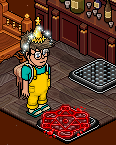
Make your way to the end saddle seat, using the saddle seats to make your way across the rollers, Flicking the switches to turn the wall of flames off. Sit on the seat at the end to teleport.
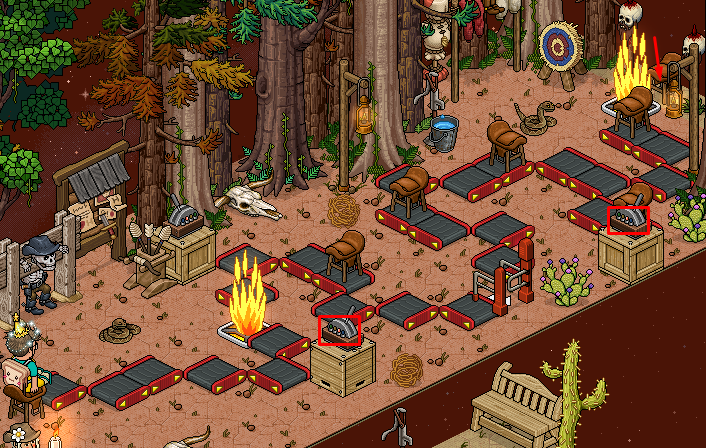
Enter the teleporter.
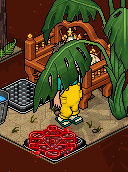
Make your way across the snake maze. Use the water pump to rotate the gate then make your way quickly over the green pods before they push you off and walk carefully on the last rollers, making sure the red tiles don't trip you up. Sit on the saddle seat to teleport.
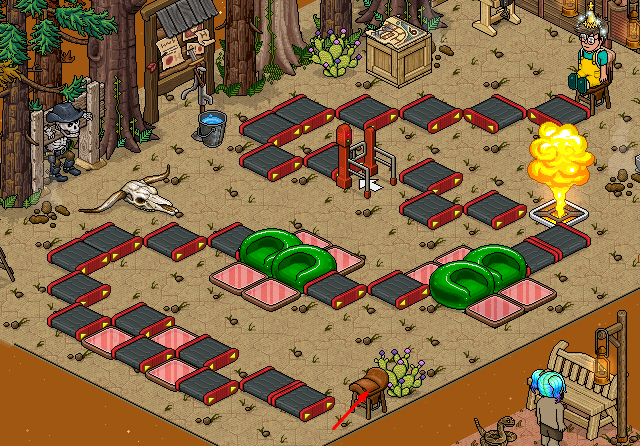
Enter the teleporter.
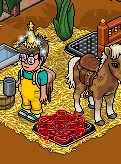
Wait patiently in the queue.
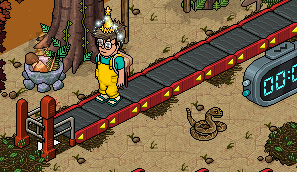
You must now collect all six (6) map pieces by either stepping on them or using the hand item near them. You must use the green tiles to make your way across the monster plant, avoiding collision with the moving skull. You must walk on the red tiles at the end until they are green to rotate the gate. Once all six (6) map pieces are collected enter the final one-way gate to teleport.
Note: This is a two (2) minute game and colliding with a skull or losing will teleport you back to the start.
Enter the teleporter.
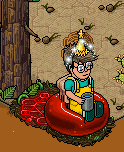
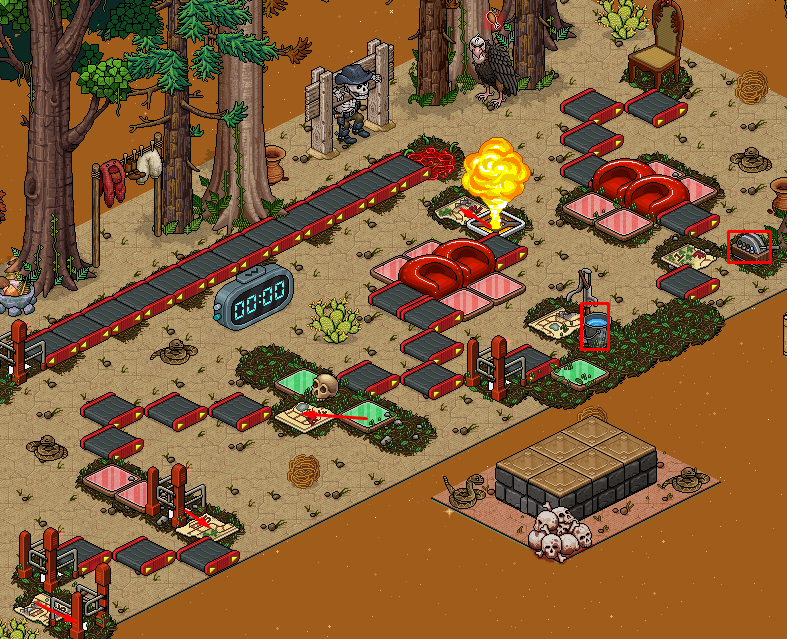
Make your way to the end one-way gate by completing the snake maze. Avoid collision with the moving snakes and use the water pump to turn the flame off.
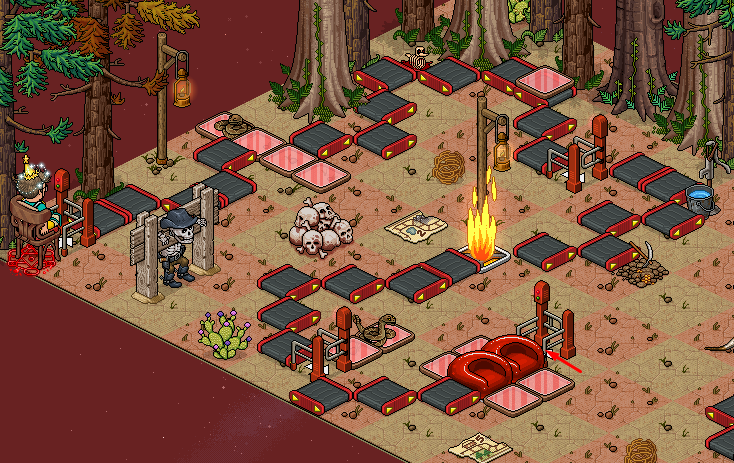
You must now complete the second section of the room making your way to the bubblejuice chair to teleport. Avoid collision with the moving snakes and make sure the wall of flames doesn't block you.
Note: Failing here you will teleport back to the start of this section.
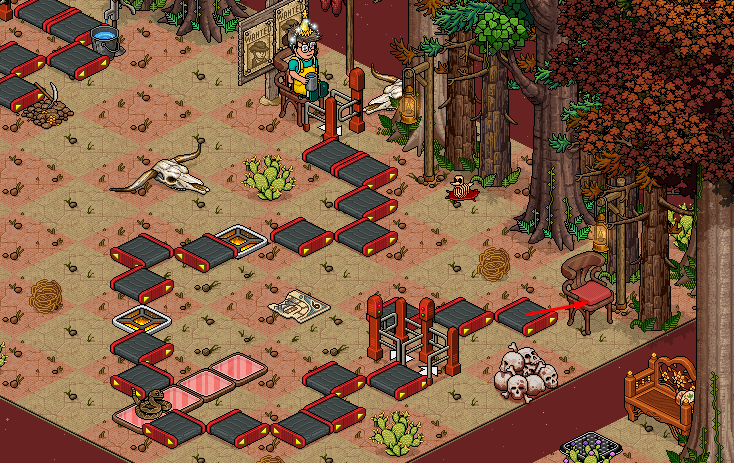
Enter the teleporter.
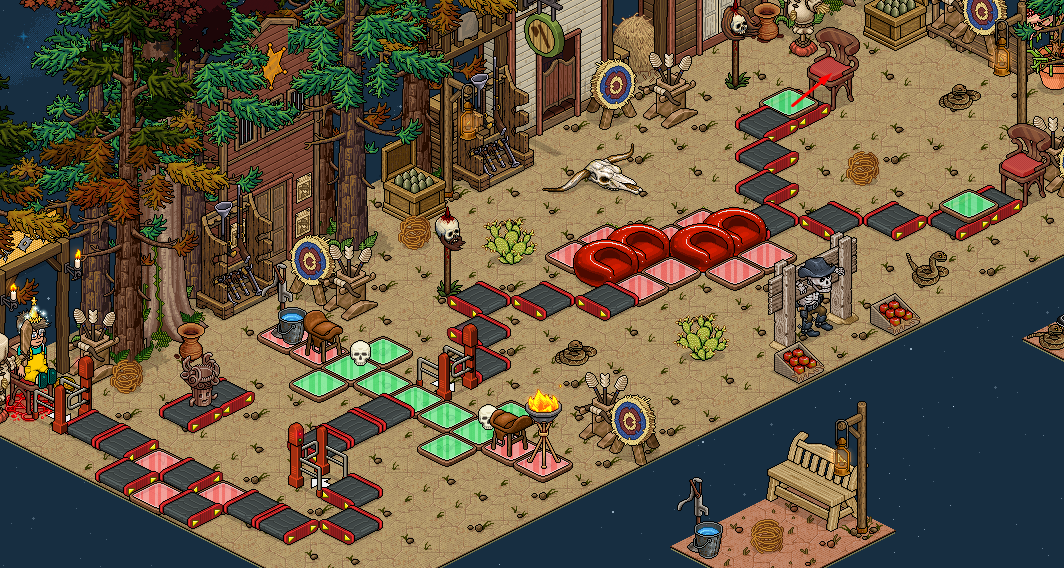
Make your way to the bubble juice chairs to teleport. Be sure to go slow at the beginning so the red color tiles don't trip you up, then use both the water pumps and habbo-lympix torch to turn the tiles green and rotate the gate. Make your way quickly over the pods before they automatically move you off onto the red tiles. Using the green tile make your way to the chair to teleport.
Enter the teleporter.
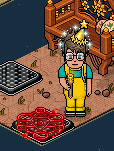
Sit on the snake and flick the switch to receive your first badge.
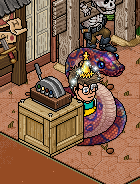

Flick the switch to teleport then enter the teleporter.
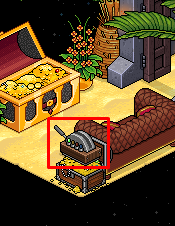
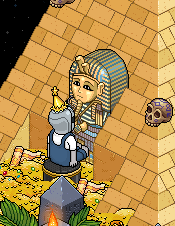
Cross to the other side without colliding with the moving Oni's. Now cross the next section without colliding with the moving skull. Use one of the three sections to let the skull past before continuing. Then reach the gold by avoiding collision with the final Oni. Sit on the sofa to teleport.
Note: There are two (2) sides to the room, you can flick the switch to change sides.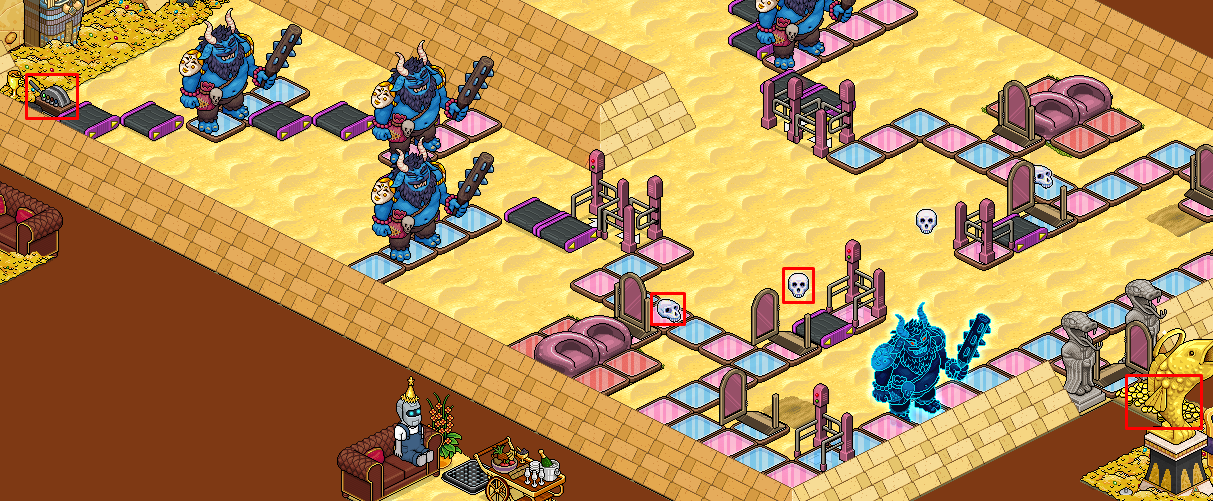

Enter the teleporter.
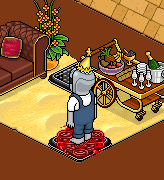
Wait patiently in the queue.
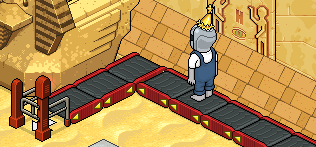
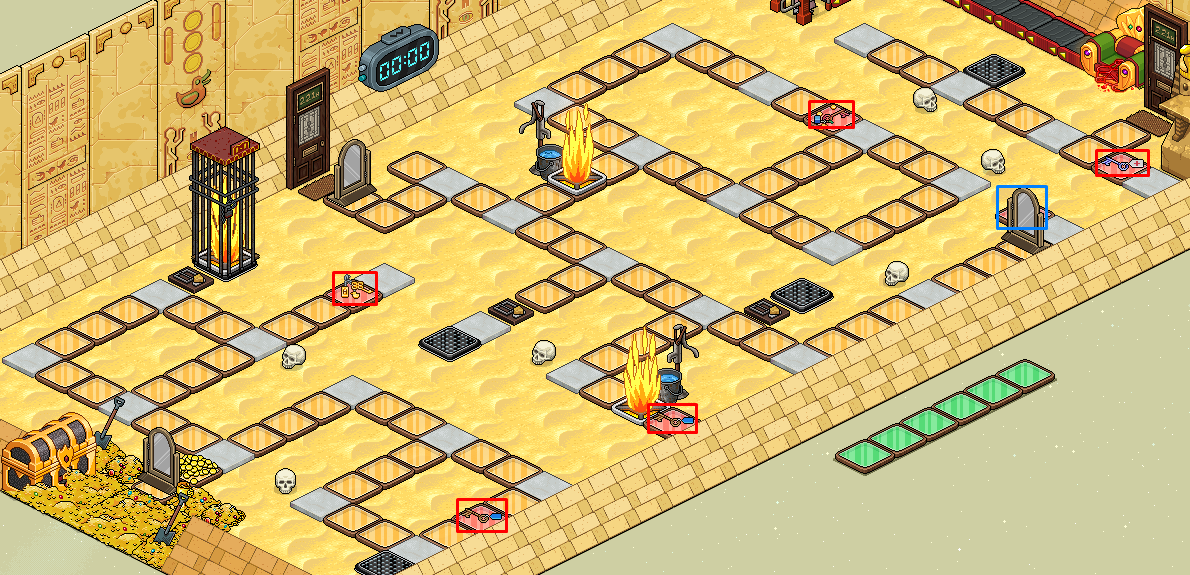
You need to move around the course collecting the keys along the way. One of the collected keys will open the gate for you to collect the lock pick. Grab a water to lower turn off the wall of flames. You can use the banzais and teleport to move around the room. Once you have all 5 items, the final gate will open.
Note: You have 2 minutes to complete this game.
Enter the teleporter.
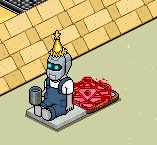
Step on the arrow tile to teleport.
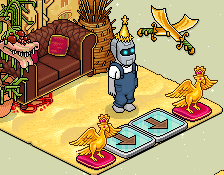
Complete the snake maze. Avoid collision with the moving gold, then step on the colored tiles only when they are green. Move along the pods avoiding collision with the moving apples. Use the moving green tile to cross the yellow tiles, then use the one-way gate to reach the wall of flames to teleport.
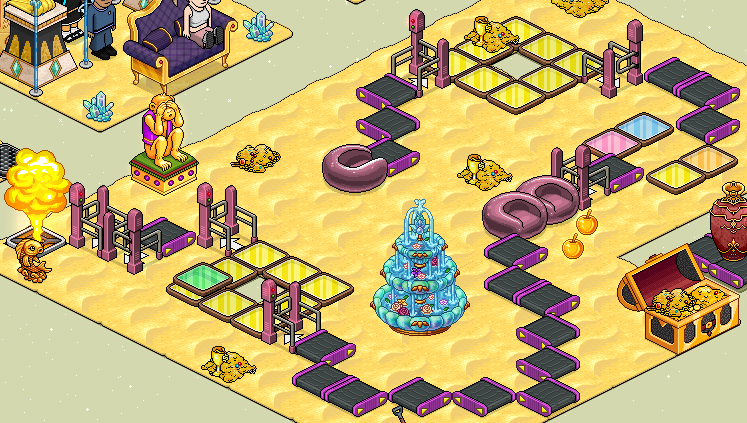
Enter the teleporter.
Complete the snake maze. Use the moving purple pod to cross. Grab a torch to rotate the final gate.
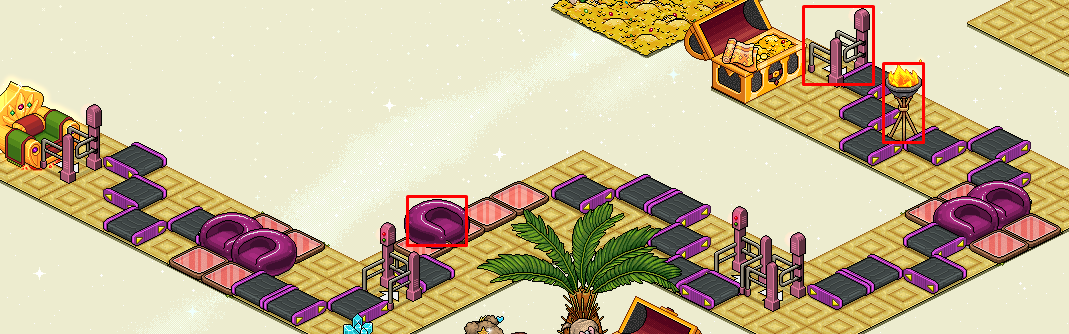
Complete the snake maze. The first set of rollers will try to trip you. Use the moving purple pod to reach and grab a torch to rotate the gate. Cross the green tiles without colliding with the gold apple. Cross to the other side without colliding with the stone obelisks. Sit on the pillows to teleport.
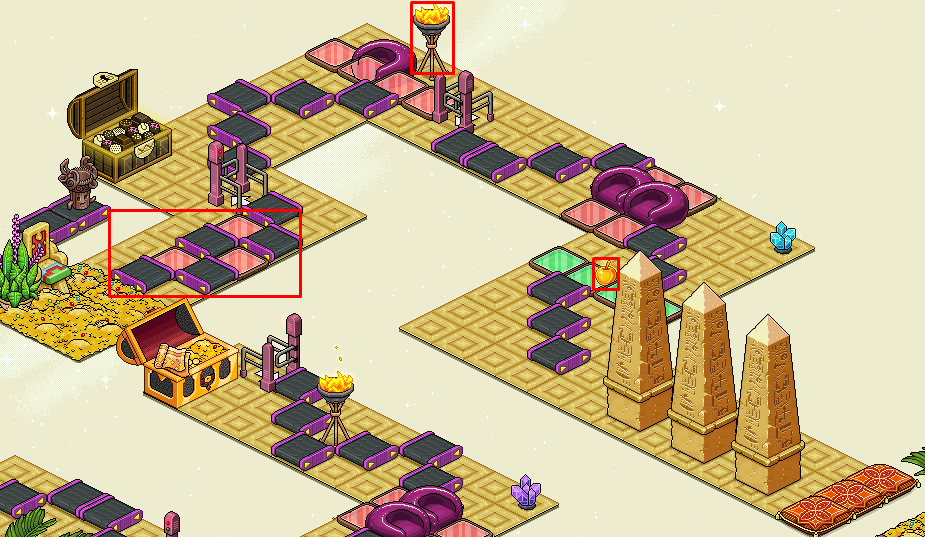
Complete the snake maze. The highlighted gate will rotate. Avoid collision with the crystal ball. Use the wall of flames when they are down and avoid collision with the moving golden apple.
Enter the teleporter.

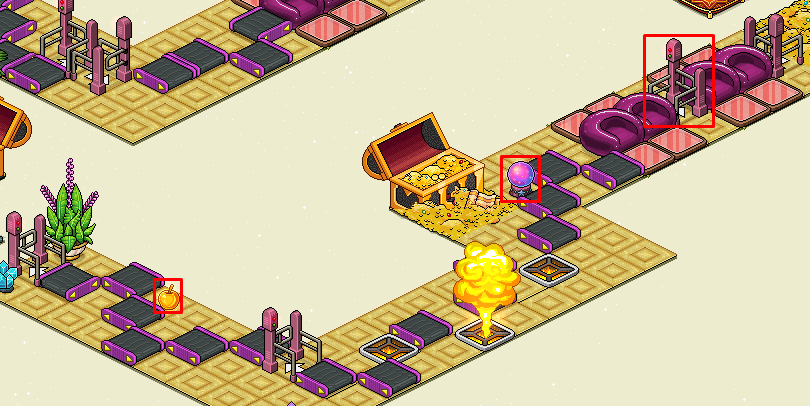
Complete the snake maze. Move along the pods avoiding collision with the moving dragon. Grab a water to lower the wall of flame. Use the moving pink pod to cross, then use the moving wall of flames to reach the one-way gate. Avoid colliding with them.
Enter the teleporter.
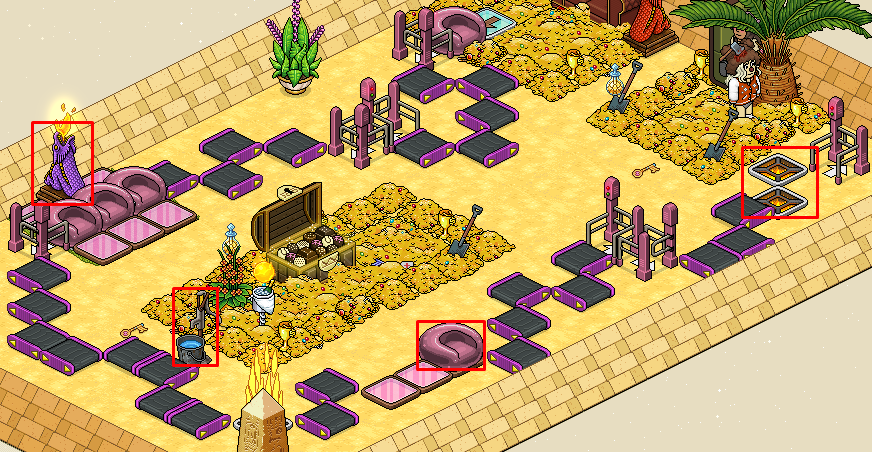
Step on the treasure at the end of each section to advance to the next. Each section is a checkpoint. Complete the snake maze and avoid collision with the moving golden apple.
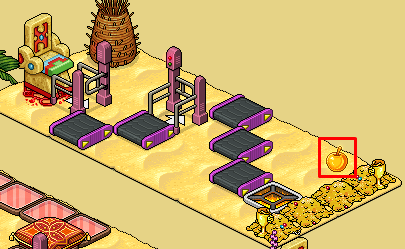
Use the moving pillow to cross the other side. The wall of flame will turn on and off.
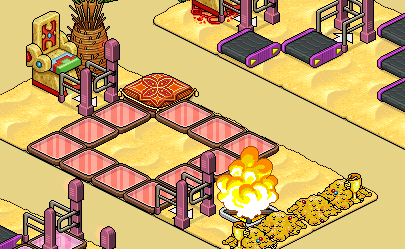
Use the one-way gates to cross. They will move side to side.
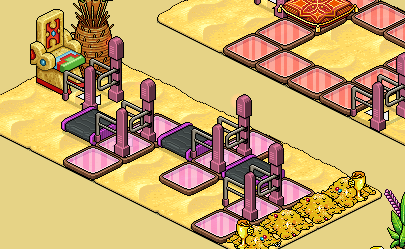
Whilst avoiding collision with the moving crystals, repeatedly move across the pods until the colored tiles turn green. This will turn the moving red tile green, allowing you to move onto the next. Repeat a second time to reach the other side.
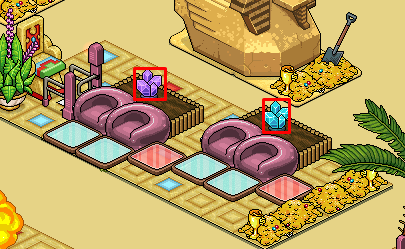
Cross to the other side, the moving wall of flames will turn on and off.
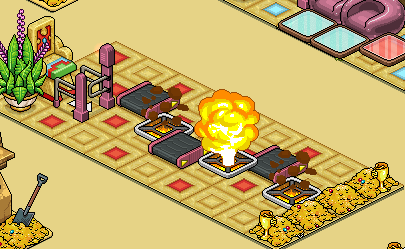
Cross to the other side using the moving green colored tiles. The final one-way gates rotate.
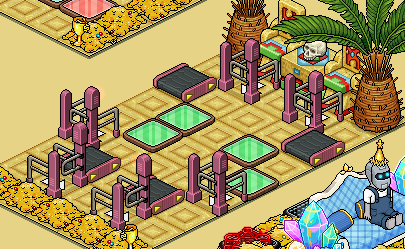
Enter the teleporter.
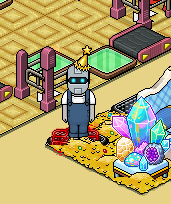
This final room is an autorun. Each section is checkpoint however, when the timer runs out the whole room will reset. Cross to the other side without colliding with the moving monkey statues.
Note: The final room resets every 5 minutes.
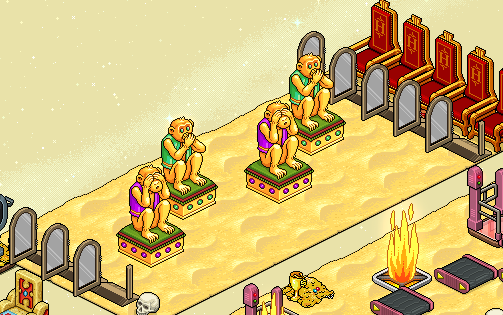
Flick the switch to lower the first wall of flame. Cross the moving wall of flames, then enter the one-way gates.
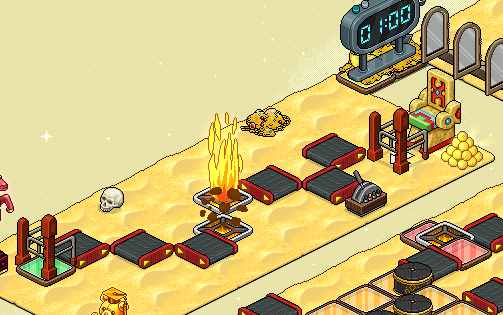
Repeatedly enter the first one-way gate until the colored tile turns green. This will lower the first wall of flame. Now repeatedly enter the one-way gate without going fully through to move the final one-way gate across. This will allow you to use both one-way gates to reach the wall of flame which will then have turned off.
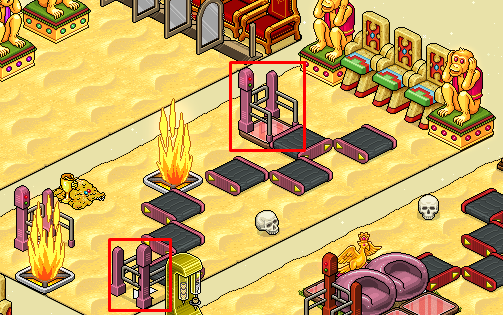
Cross to the other side using the moving wall of flames and bling seats. Avoid walking onto the red or orange colored tiles. You should only step on the flickering colored tiles when they are green. Step on the final wall of flame to teleport.
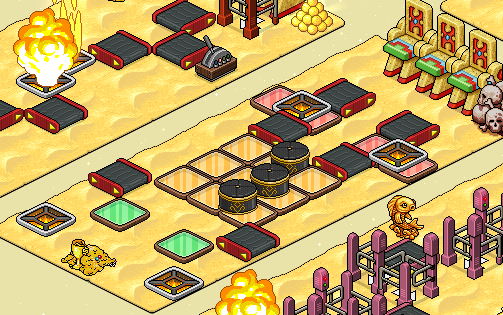
Cross to the other side, using the pods whilst avoiding collision with the moving golden bird. The one-way gate rotates.Grab an ice cream without falling off the rollers to teleport.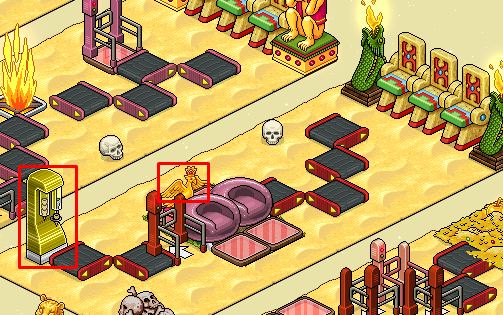
Use the one-way gates to reach the other side, then step onto the wall of flame to teleport.
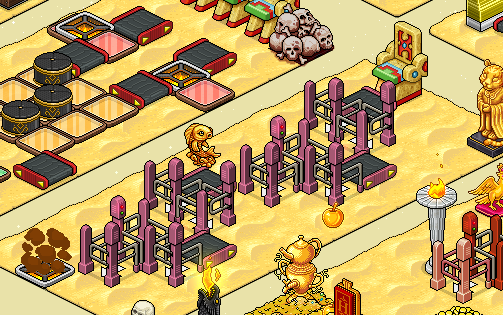
Use the one-way gates and moving green colored tiles to cross to the other side. You must flick the highlighted switch to rotate the second one-way gate. Avoid collision with the moving greek torch, step onto the coin rain to teleport.
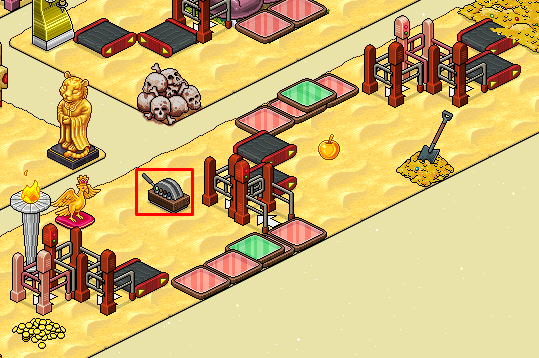
Flick the switch to receive your badge.
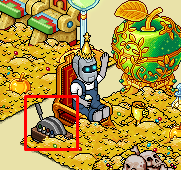

Let us know in the comments section below what your thoughts on this badge quest! Did you enjoy the event?
Room Information
Room Name: Entrance - Howdy Partner
Room Owner: Ellie,
Or you can click the room icon at the top of this guide to be taken directly there.
Entrance
Note: You do not have to complete the first half of the maze in order to do the other, you may start at which badge you want to earn first.There are two badges which can be won at this event.
- This can be won by completing the Cowboy Maze. The guide for this begins from step 1. - This can be won by completing the Egypt Maze. The guide for this begins from step 23.Step 1
Flick the switch to teleport.
Step 2
Enter the teleporter.
Step 3
Make your way to the saddle seat to teleport.
Note: Watch out for the snakes as they will try to trip you up.
Step 4
Enter the teleporter.
Step 5
Flick the switch to teleport.
Step 6
You must now use either side of the room and complete the snake maze, you must enter the red one-way gate and turn all four (4) color tiles green to rotate the gate. Make your way to the saddle seat without colliding with the snakes to teleport.
Step 7
Enter the teleporter.
Step 8
Make your way to either of the bubblejuice chair using the saddle seat and entering the rotating one-way gate. Sit on the chair to teleport.
Note: The skull candle will try to block your path.
Step 9
Enter the teleporter.
Step 10
Make your way to the end saddle seat, using the saddle seats to make your way across the rollers, Flicking the switches to turn the wall of flames off. Sit on the seat at the end to teleport.
Step 11
Enter the teleporter.
Step 12
Make your way across the snake maze. Use the water pump to rotate the gate then make your way quickly over the green pods before they push you off and walk carefully on the last rollers, making sure the red tiles don't trip you up. Sit on the saddle seat to teleport.
Step 13
Enter the teleporter.
Step 14
Wait patiently in the queue.
Step 15
You must now collect all six (6) map pieces by either stepping on them or using the hand item near them. You must use the green tiles to make your way across the monster plant, avoiding collision with the moving skull. You must walk on the red tiles at the end until they are green to rotate the gate. Once all six (6) map pieces are collected enter the final one-way gate to teleport.
Note: This is a two (2) minute game and colliding with a skull or losing will teleport you back to the start.
Step 16
Enter the teleporter.
Step 17
Make your way to the end one-way gate by completing the snake maze. Avoid collision with the moving snakes and use the water pump to turn the flame off.
Step 18
You must now complete the second section of the room making your way to the bubblejuice chair to teleport. Avoid collision with the moving snakes and make sure the wall of flames doesn't block you.
Note: Failing here you will teleport back to the start of this section.
Step 19
Enter the teleporter.
Step 20
Make your way to the bubble juice chairs to teleport. Be sure to go slow at the beginning so the red color tiles don't trip you up, then use both the water pumps and habbo-lympix torch to turn the tiles green and rotate the gate. Make your way quickly over the pods before they automatically move you off onto the red tiles. Using the green tile make your way to the chair to teleport.
Step 21
Enter the teleporter.
Step 22
Sit on the snake and flick the switch to receive your first badge.
Step 23
Flick the switch to teleport then enter the teleporter.
Step 24
Cross to the other side without colliding with the moving Oni's. Now cross the next section without colliding with the moving skull. Use one of the three sections to let the skull past before continuing. Then reach the gold by avoiding collision with the final Oni. Sit on the sofa to teleport.
Note: There are two (2) sides to the room, you can flick the switch to change sides.
Step 25
Enter the teleporter.
Step 26
Wait patiently in the queue.
Step 27
You need to move around the course collecting the keys along the way. One of the collected keys will open the gate for you to collect the lock pick. Grab a water to lower turn off the wall of flames. You can use the banzais and teleport to move around the room. Once you have all 5 items, the final gate will open.
Note: You have 2 minutes to complete this game.
Step 28
Enter the teleporter.
Step 29
Step on the arrow tile to teleport.
Step 30
Complete the snake maze. Avoid collision with the moving gold, then step on the colored tiles only when they are green. Move along the pods avoiding collision with the moving apples. Use the moving green tile to cross the yellow tiles, then use the one-way gate to reach the wall of flames to teleport.
Step 31
Enter the teleporter.
Step 32
Complete the snake maze. Use the moving purple pod to cross. Grab a torch to rotate the final gate.
Step 33
Complete the snake maze. The first set of rollers will try to trip you. Use the moving purple pod to reach and grab a torch to rotate the gate. Cross the green tiles without colliding with the gold apple. Cross to the other side without colliding with the stone obelisks. Sit on the pillows to teleport.
Step 34
Complete the snake maze. The highlighted gate will rotate. Avoid collision with the crystal ball. Use the wall of flames when they are down and avoid collision with the moving golden apple.
Step 35
Enter the teleporter.
Step 36
Complete the snake maze. Move along the pods avoiding collision with the moving dragon. Grab a water to lower the wall of flame. Use the moving pink pod to cross, then use the moving wall of flames to reach the one-way gate. Avoid colliding with them.
Step 37
Enter the teleporter.
Step 38
Step on the treasure at the end of each section to advance to the next. Each section is a checkpoint. Complete the snake maze and avoid collision with the moving golden apple.
Step 39
Use the moving pillow to cross the other side. The wall of flame will turn on and off.
Step 40
Use the one-way gates to cross. They will move side to side.
Step 41
Whilst avoiding collision with the moving crystals, repeatedly move across the pods until the colored tiles turn green. This will turn the moving red tile green, allowing you to move onto the next. Repeat a second time to reach the other side.
Step 42
Cross to the other side, the moving wall of flames will turn on and off.
Step 43
Cross to the other side using the moving green colored tiles. The final one-way gates rotate.
Step 44
Enter the teleporter.
Step 45
This final room is an autorun. Each section is checkpoint however, when the timer runs out the whole room will reset. Cross to the other side without colliding with the moving monkey statues.
Note: The final room resets every 5 minutes.
Step 46
Flick the switch to lower the first wall of flame. Cross the moving wall of flames, then enter the one-way gates.
Step 47
Repeatedly enter the first one-way gate until the colored tile turns green. This will lower the first wall of flame. Now repeatedly enter the one-way gate without going fully through to move the final one-way gate across. This will allow you to use both one-way gates to reach the wall of flame which will then have turned off.
Step 48
Cross to the other side using the moving wall of flames and bling seats. Avoid walking onto the red or orange colored tiles. You should only step on the flickering colored tiles when they are green. Step on the final wall of flame to teleport.
Step 49
Cross to the other side, using the pods whilst avoiding collision with the moving golden bird. The one-way gate rotates.Grab an ice cream without falling off the rollers to teleport.
Step 50
Use the one-way gates to reach the other side, then step onto the wall of flame to teleport.
Step 51
Use the one-way gates and moving green colored tiles to cross to the other side. You must flick the highlighted switch to rotate the second one-way gate. Avoid collision with the moving greek torch, step onto the coin rain to teleport.
Step 52
Flick the switch to receive your badge.
Let us know in the comments section below what your thoughts on this badge quest! Did you enjoy the event?
personally wouldn't say it's HARD but c'est la vie
Its so sad but I take ss to try to back ❤️
I cant imagine I did all this being hard because. I'm proud of myself 😀